Recent Blogs


Understanding how to lay an underlay on a concrete floor is important if you want your flooring to look uniform, stable, and professionally placed. The way you prepare and apply this layer influences how well your finished floor performs and how long it maintains its appearance. When you follow the right steps and take time with each stage, you create a dependable surface that supports your entire flooring system.
Underlay is designed to create a flat and even base before installing your final flooring. It helps correct surface irregularities, supports proper bonding, and provides a consistent foundation across the entire area. Many flooring issues begin with problems in the layers beneath the finished surface, which is why careful preparation at this stage is valuable.
Understanding the Role of Underlay in Your Flooring System
The underlay serves as the transition layer between the subfloor and your finished floor. It smooths uneven areas, fills dips, and creates a level platform that allows the flooring material to sit properly.
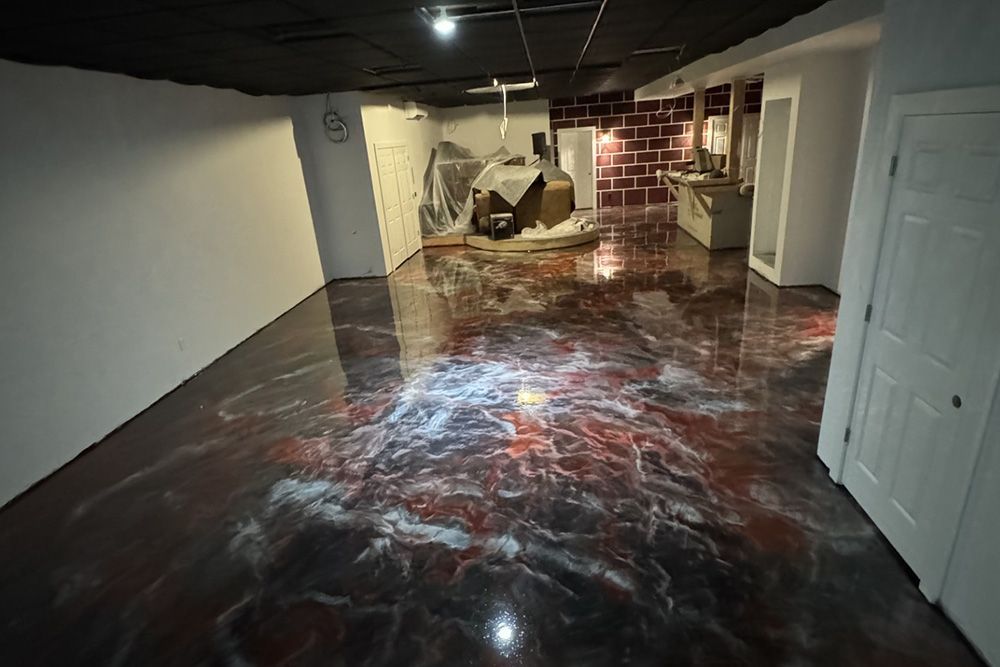
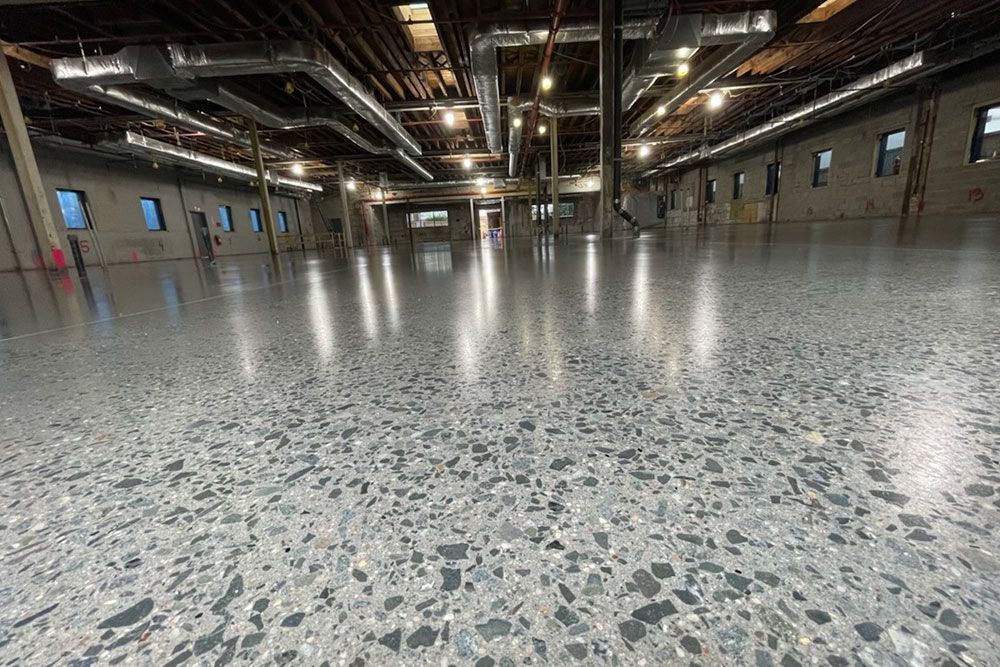
This is especially important for surfaces such as tile, vinyl, epoxy, and polished concrete, which need a uniform base to achieve a clean, consistent appearance. When the underlay is installed with attention and care, it helps prevent imperfections from showing through the final floor.
Preparing Your Subfloor Before Applying Underlay
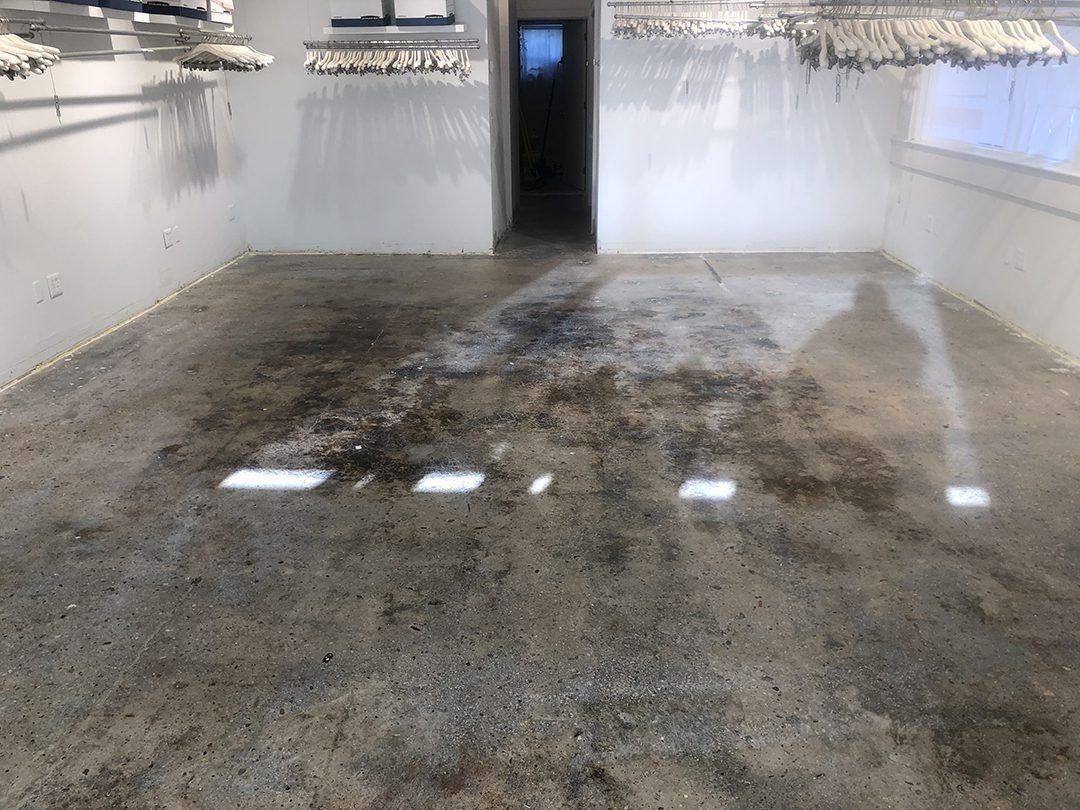
The first step in a proper installation is preparing the subfloor, which involves creating a clean, stable surface that will support the underlay. Start by removing debris, dust, residue, and anything else that could interfere with adhesion.
Repair any cracked or weakened areas so the subfloor is strong and consistent. It is also important to check moisture levels with a meter, since excessive moisture can disrupt bonding and affect the performance of the underlay.
If the product requires a primer, apply it to promote even spreading and to prevent the material from being absorbed too quickly into the substrate. For projects that need a flat, dependable base, self-leveling underlays are an effective option because they create a smooth and uniform surface before the final flooring is installed.
Mixing and Spreading the Underlay
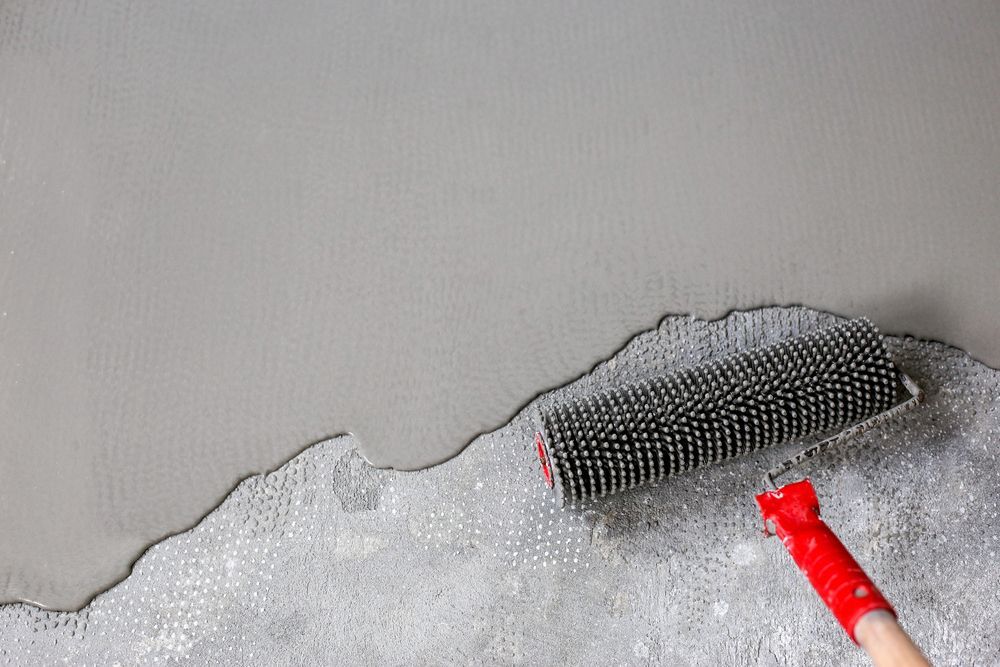
Once the subfloor is prepared, mix the underlay according to the manufacturer’s instructions for that specific product. Achieving the correct consistency is essential, as it allows the material to flow smoothly across the floor.
Pour the mixture and use an appropriate tool to guide it, spreading it evenly across the surface. Work at a steady pace to ensure the layer settles uniformly. As the underlay begins to dry, avoid walking on it or placing objects on the surface until it has fully set. Drying times will vary depending on factors such as humidity, temperature, and the thickness of the layer.
Inspecting the Surface Before Adding Your Final Flooring
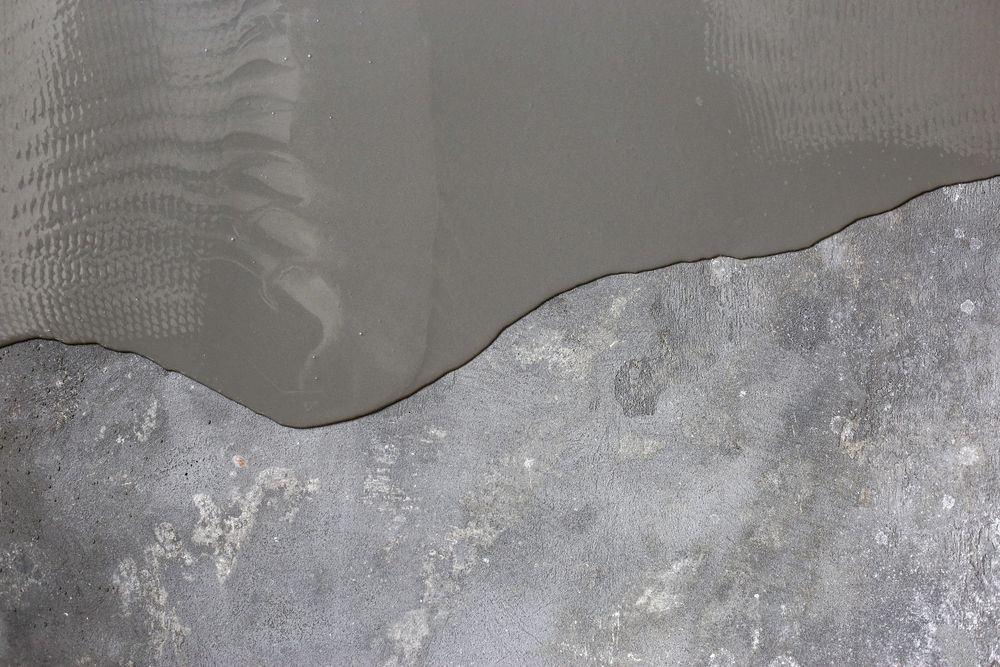
After the underlay has dried, inspect the surface carefully to ensure it is smooth and even, which indicates a successful installation. Any raised areas or minor inconsistencies can be corrected with light sanding or patching. It is also important to check moisture levels again to confirm they are within the acceptable range for your chosen flooring material.
A properly placed underlay supports a clean appearance, stable performance, and long-lasting results. When you take the time to handle each step with care, your finished flooring benefits from a stronger foundation.
Premier Polishing Corp provides high-quality underlays, overlays, and surface preparation solutions that support your flooring goals.
Contact us today to learn more about our products and services or to get expert guidance for your next flooring project.