Recent Blogs

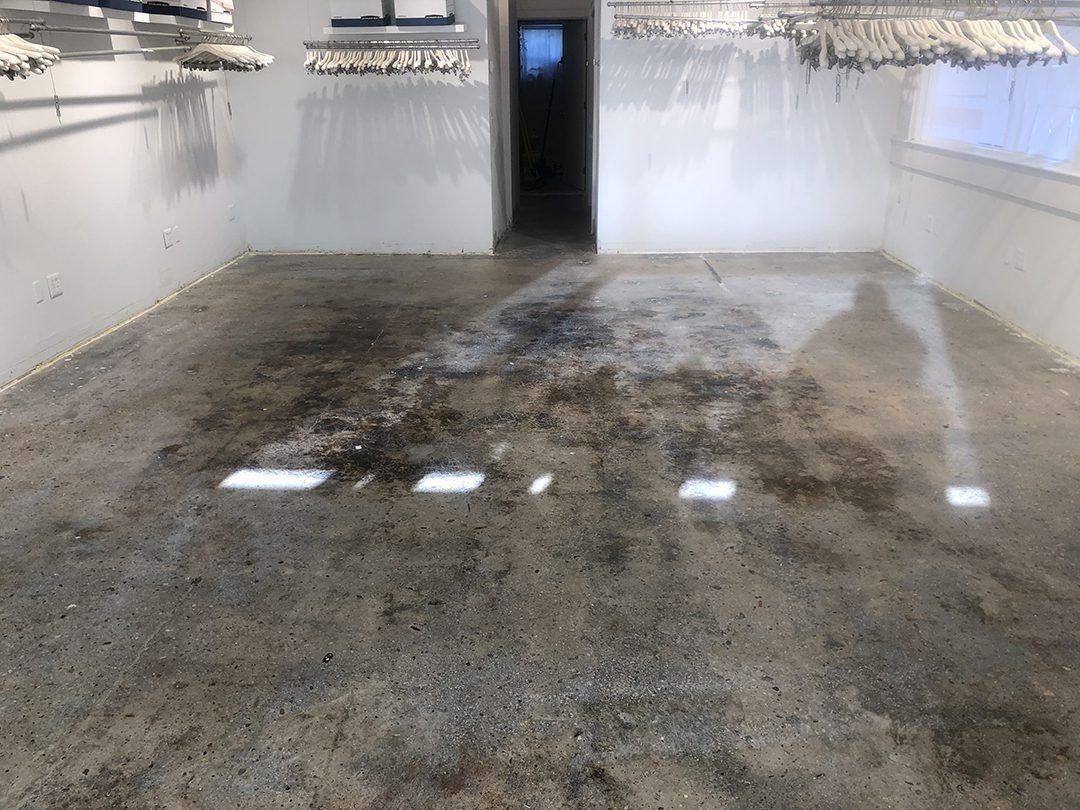


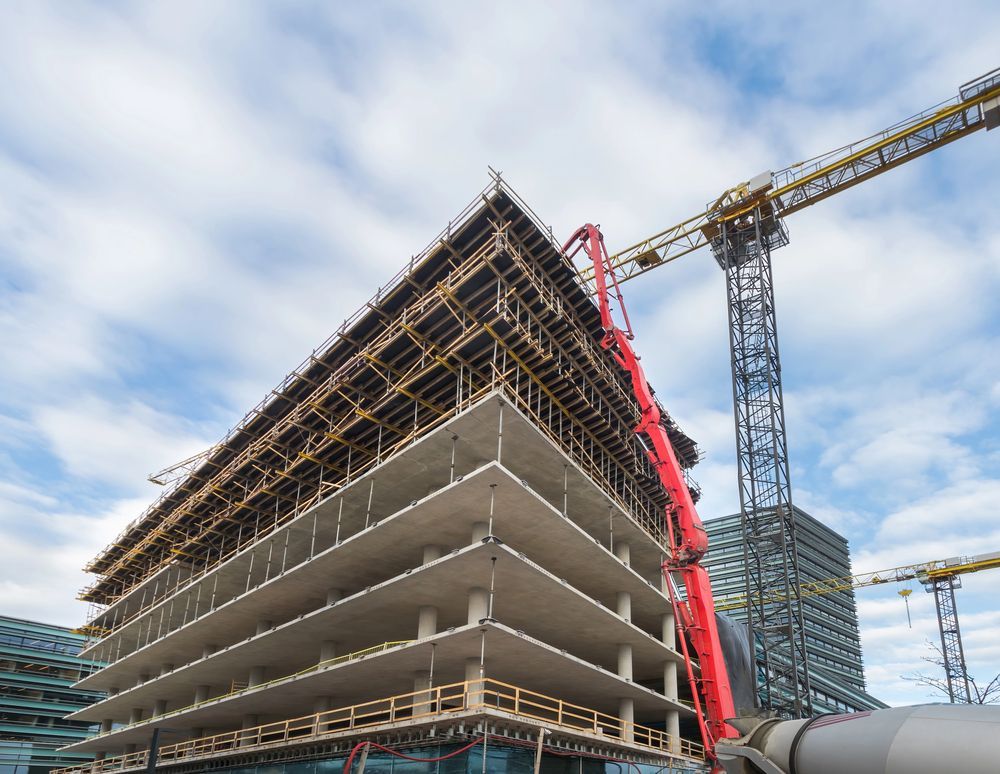
Facilities like warehouses, medical centers, and retail stores demand flooring that performs under pressure — surfaces that are durable, safe, and easy to maintain. While concrete provides a strong and reliable foundation, many commercial environments require an added layer of protection to withstand constant wear, chemical exposure, and frequent cleaning. That’s where commercial epoxy flooring comes in.
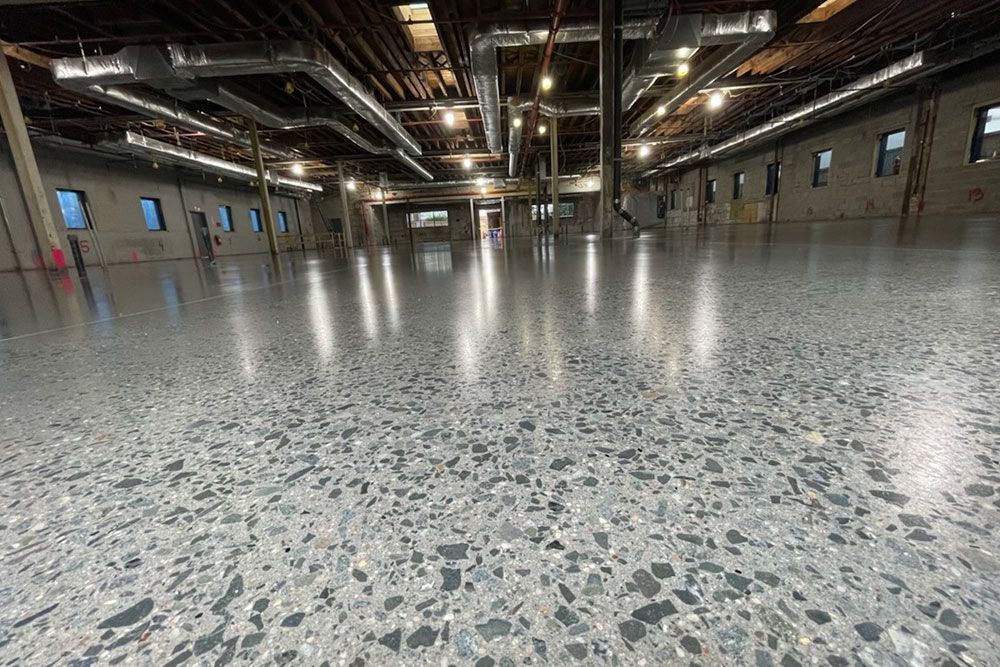
Epoxy coatings bond seamlessly with concrete, creating a smooth, non-porous, and highly resilient surface that elevates both the performance and appearance of any facility. The result is a floor system built to handle the toughest conditions while maintaining a clean, professional look for years to come.
1. Initial Consultation and Project Assessment
Every successful installation begins with a clear understanding of the client’s operational needs and design goals. During the initial consultation, technicians assess the facility’s purpose, expected traffic levels, and exposure to chemicals or heavy machinery.
From there, the right epoxy system is selected to deliver optimal performance and longevity. A thorough site evaluation follows, identifying potential challenges such as moisture issues, temperature variations, or existing coatings that could affect adhesion. Addressing these early ensures a smooth, trouble-free installation.
2. Inspection and Analysis of the Concrete Substrate
Next, specialists examine the existing concrete slab to identify cracks, damage, or irregularities. They look for issues like efflorescence, delamination, or prior repairs that may impact bonding.
Technicians also measure the moisture vapor transmission rate, as excess moisture can compromise epoxy adhesion. If needed, vapor barriers or mitigation systems are recommended to ensure long-term performance and coating stability.
3. Development of a Customized Installation Plan
No two facilities are alike — that’s why expert crews create a customized plan for every project. This detailed strategy outlines the chosen products, application techniques, curing timeline, and safety protocols.
By carefully planning each step — including ventilation, waste disposal, and crew logistics — contractors minimize downtime and ensure the project runs efficiently, safely, and in compliance with all local and industry standards.
4. Scheduling and Site Preparation
A precise schedule keeps every phase coordinated, from material delivery and setup to application and curing times. Clear communication with facility managers helps minimize operational disruption and keep the project on track.
Before installation begins, crews prepare the space by clearing all equipment and securing necessary utilities like power and water. Controlled access zones are established to maintain safety for both workers and onsite personnel — setting the stage for a smooth installation process.
5. Cleaning and Degreasing the Surface
Proper surface cleaning is critical. Technicians use industrial-grade cleaners and degreasers to remove dirt, oil, and contaminants that could prevent adhesion. After deep scrubbing, the floor is thoroughly rinsed to eliminate all chemical residues, leaving a clean, neutral surface ready for mechanical profiling.
6. Mechanical Profiling and Diamond Grinding
Mechanical profiling is what gives the epoxy something to grip. Using diamond grinding machines, contractors roughen and texture the concrete to create the ideal surface profile.
This process removes weak or damaged layers, opens pores for better bonding, and levels out minor imperfections. The result is a clean, uniform substrate that ensures the epoxy adheres securely and lasts for years.
7. Repairing Cracks, Spalling, and Joints
Once grinding is complete, technicians repair any visible cracks, spalls, or damaged areas using high-strength polymer repair materials. Expansion and control joints are also cleaned and filled with flexible sealants to accommodate natural slab movement and prevent future cracking.
These repairs strengthen the foundation, ensuring the finished floor performs flawlessly under heavy use.
8. Final Vacuuming and Quality Inspection
An industrial HEPA vacuum system removes all fine dust and debris left from grinding and repairs. This step ensures a perfectly clean surface, free from contamination.
A detailed inspection follows to confirm the concrete meets the required surface profile and moisture criteria. Only once the floor passes this quality check does the epoxy primer application begin.
9. Applying the Epoxy Primer Coat
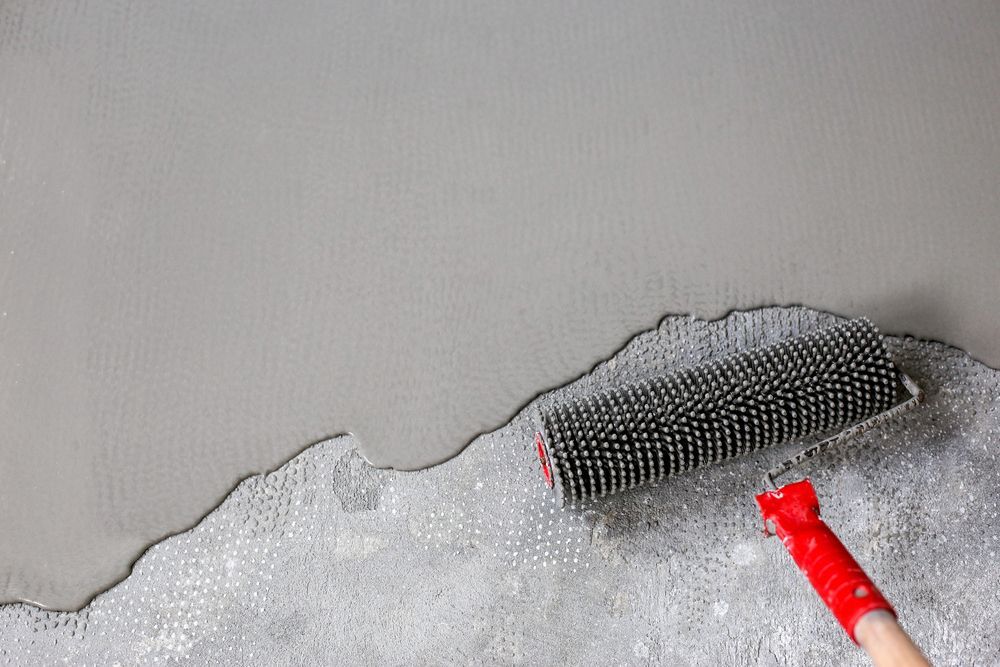
The primer is the bonding bridge between the concrete and the epoxy system. Technicians mix the two-part epoxy precisely and apply it evenly across the surface.
This thin primer coat seals the concrete pores and blocks air from rising through the top layers — preventing pinholes or bubbles later. A properly applied primer ensures strong adhesion and long-term performance.
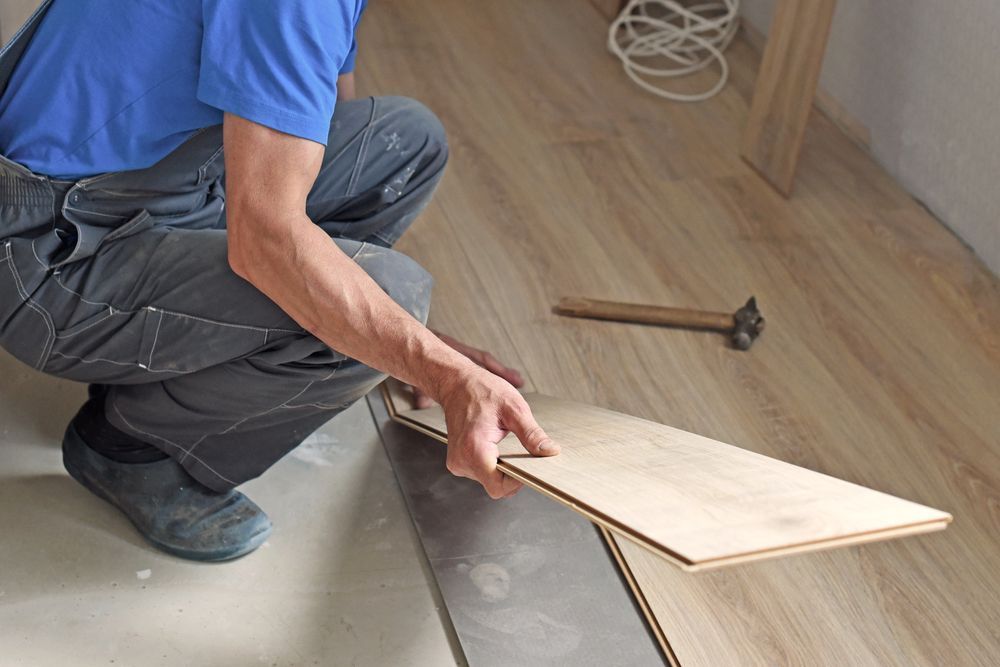
10. Installing the Colored Epoxy Base Coat
Once the primer cures, the base coat is applied — typically thicker and pigmented to achieve the desired color and depth. This layer provides the floor’s main strength and impact resistance.
Crews use notched squeegees and rollers to spread the material evenly, maintaining a wet edge to avoid streaks or lap lines. The result: a seamless, uniform base that looks as good as it performs.
11. Adding Decorative Flakes or Anti-Slip Aggregates
To enhance both aesthetics and safety, decorative vinyl flakes or anti-slip additives are incorporated while the base coat is still wet.
Flakes create a stylish, terrazzo-like appearance and can range from subtle to full broadcast for complete coverage. Anti-slip aggregates, on the other hand, increase traction in high-moisture or industrial zones — a crucial detail for maintaining workplace safety and compliance.
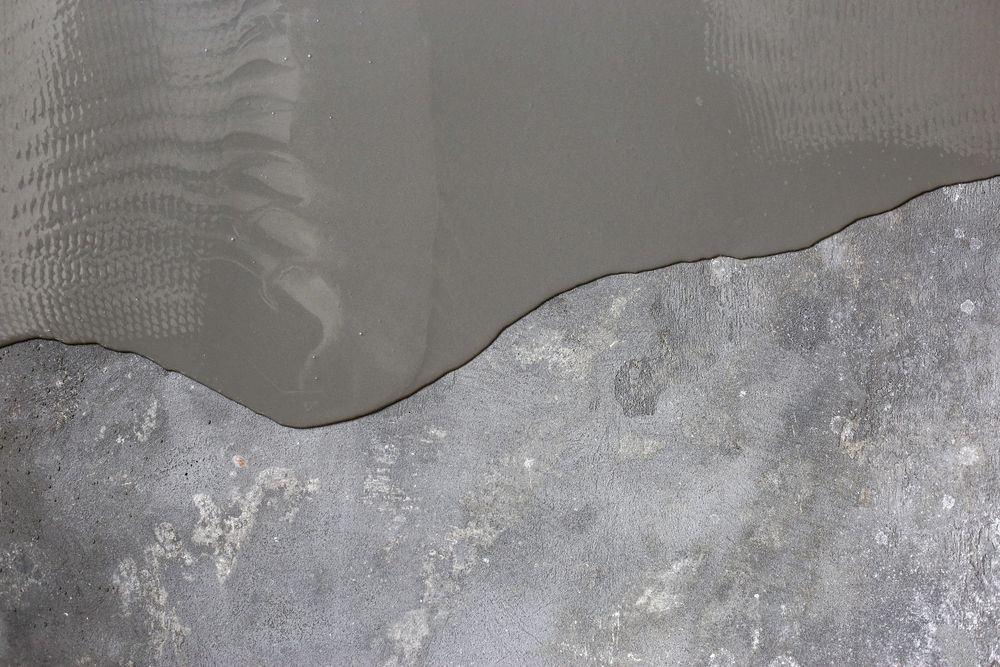
12. Applying the Protective Urethane Top Coat
After the base layer cures, a high-performance urethane or polyaspartic top coat is applied. This final coating seals the entire system, delivering outstanding resistance to abrasion, UV exposure, chemicals, and stains.
Clients can choose between high-gloss or matte finishes depending on lighting conditions and maintenance preferences. The top coat not only enhances appearance but also simplifies cleaning — keeping the floor hygienic and easy to maintain for years.
13. Managing the Curing Process
Curing is the final — and most critical — stage. Technicians carefully monitor temperature, humidity, and airflow to ensure optimal curing and full chemical cross-linking of the epoxy.
Proper curing ensures the floor reaches maximum hardness and durability. Once complete, crews provide the client with re-entry and load-bearing timelines, confirming when the floor can safely handle foot traffic and equipment.
Partner With Premier Polishing Corp for Commercial Epoxy Flooring in Long Island, NY
When it comes to epoxy flooring, precision and expertise make all the difference. At Premier Polishing Corp, our in-house civil engineers bring over 75 years of combined experience to every project — from planning and preparation to the final polish.
We use top-grade materials, advanced machinery, and proven techniques to deliver long-lasting results. Our full range of services includes polished concrete, grind and seal systems, microtopping overlays, and complete resurfacing and preparation solutions throughout Long Island, NY.
As trusted epoxy flooring contractors, we also craft custom concrete countertops, fire surrounds, and decorative finishes for both commercial and residential clients.
Partner with Premier Polishing Corp today to transform your concrete surface into a
durable, beautiful, and high-performance floor that stands the test of time.